



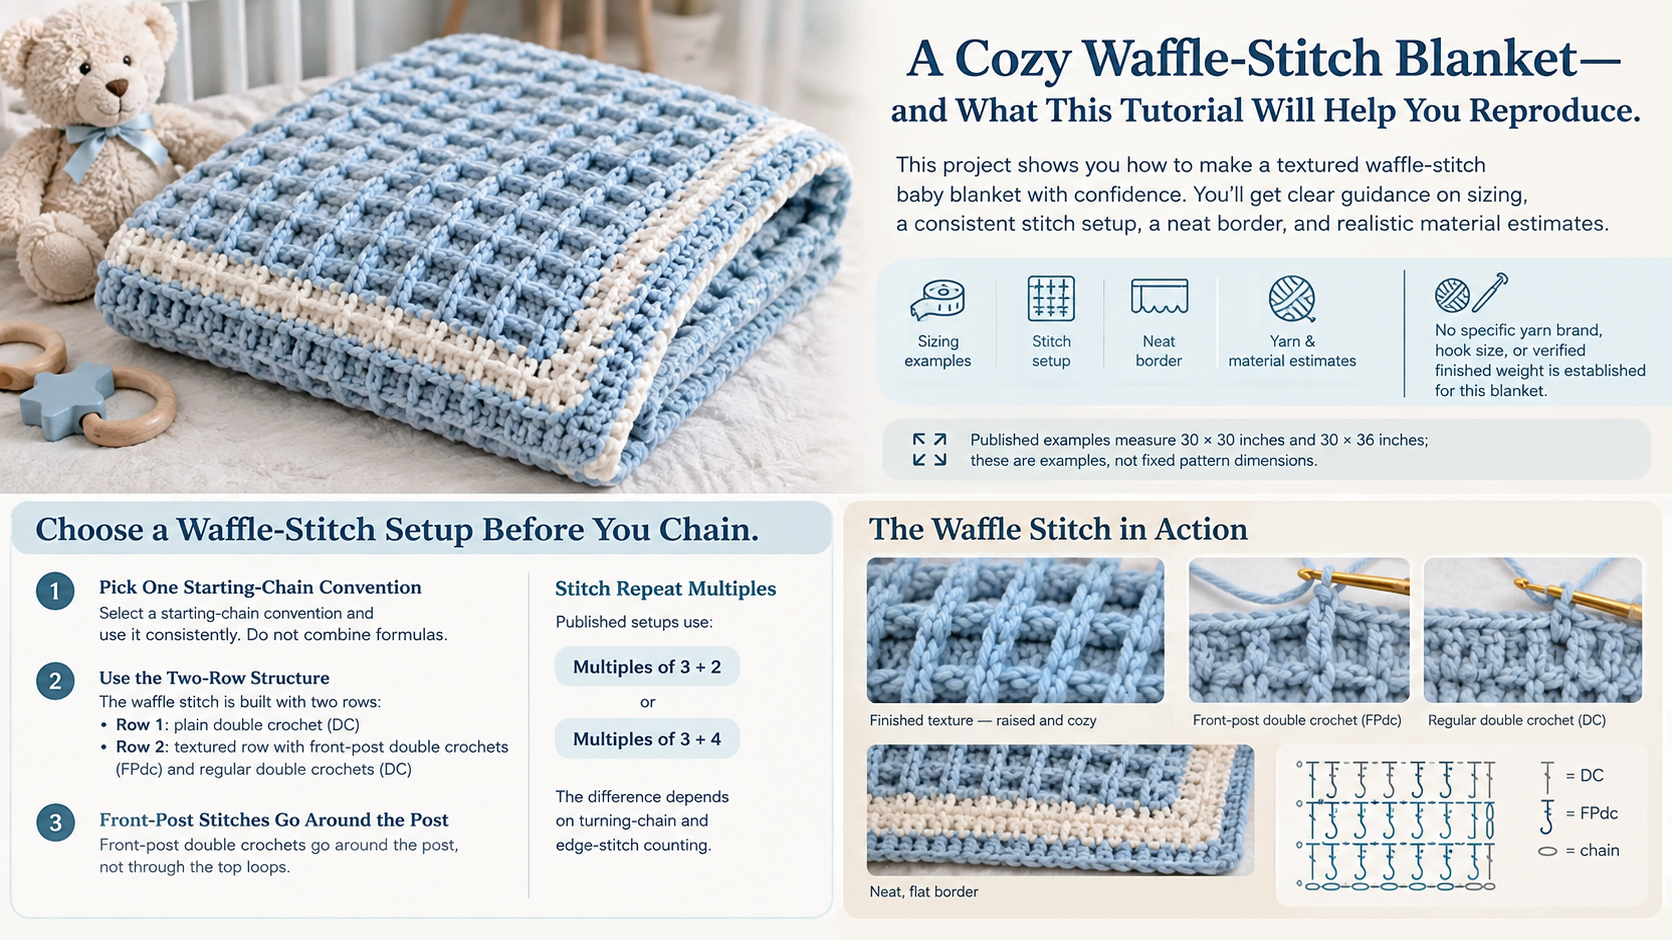

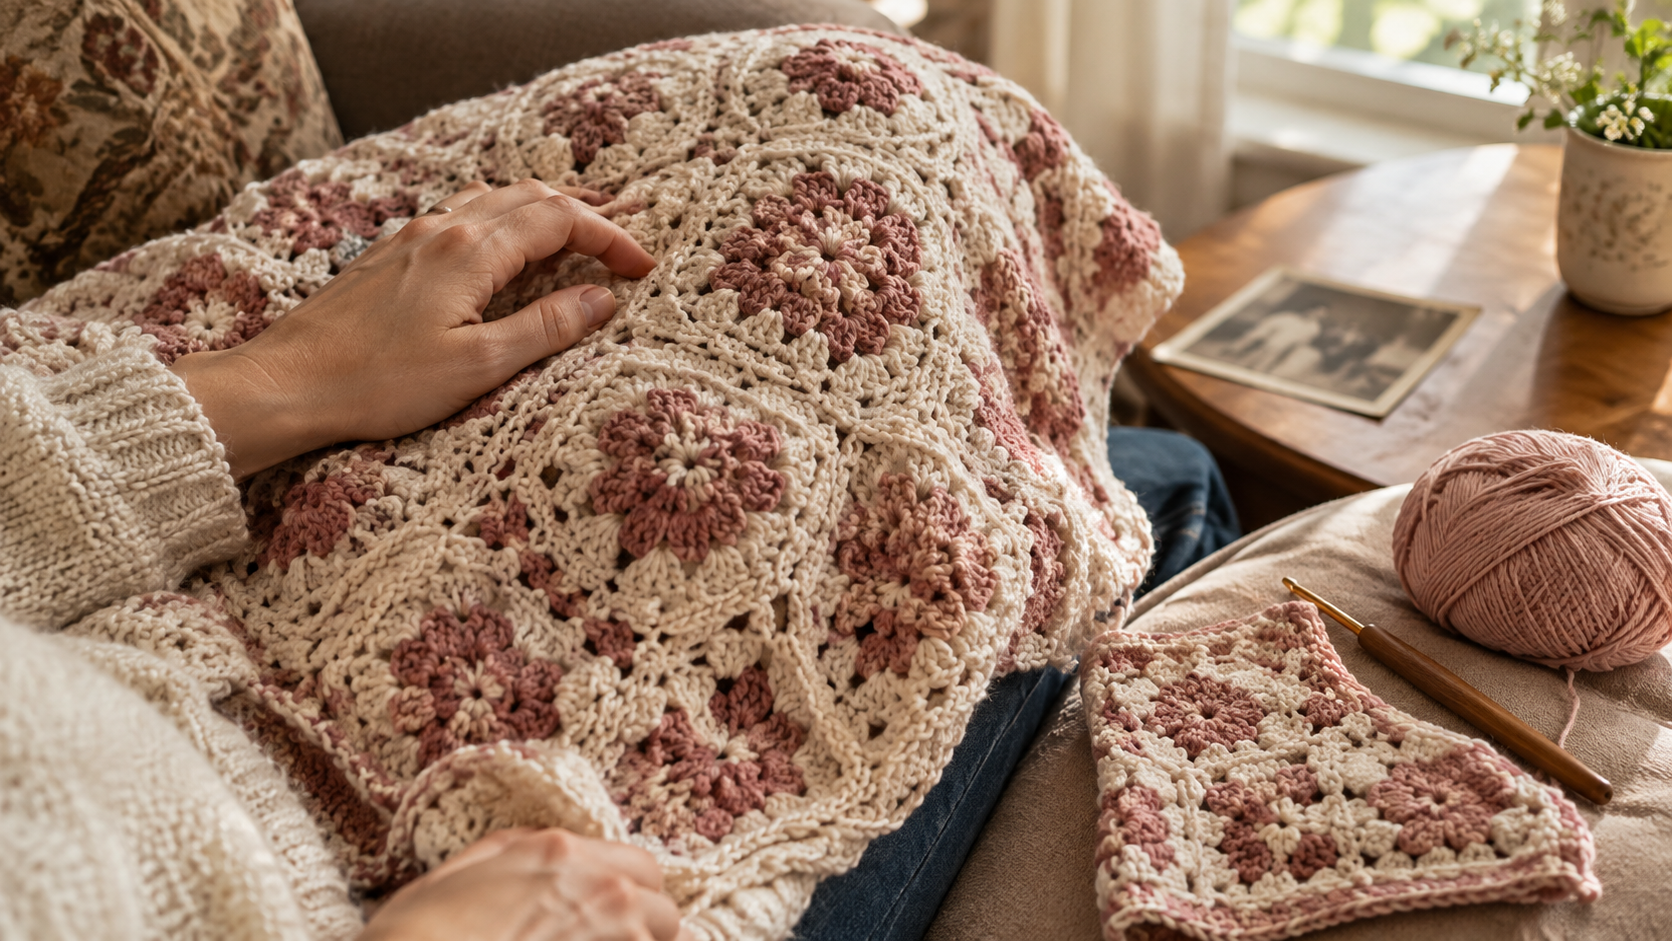


Crochet baby blankets become deeply personal when the design comes from a family photo, a name, or a favorite animal. The image is only the starting point: gauge, color changes, yarn management, and finishing determine whether the finished blanket looks clear and feels practical.
Key Takeaways
- Choose the blanket dimensions and swatch in your actual colorwork method before building the chart.
- Simplify photos into high contrast shapes and limit the palette so the subject stays legible at stitch scale.
- A 36 by 36 inch example can contain about 18,144 stitches before borders, with significant time and finishing work.
A Personalized Crochet Baby Blanket: The Finished Project
A personalized blanket is a useful place to turn a meaningful picture into something tactile. The finished example featured here uses a charted image and single crochet, but this is not a quick beginner blanket pattern. It combines a large stitch count with chart reading, color changes, and more finishing than a plain single color project. Show the finished blanket prominently, and add the original reference image beside it when permission allows. That comparison helps readers understand how the image was simplified.
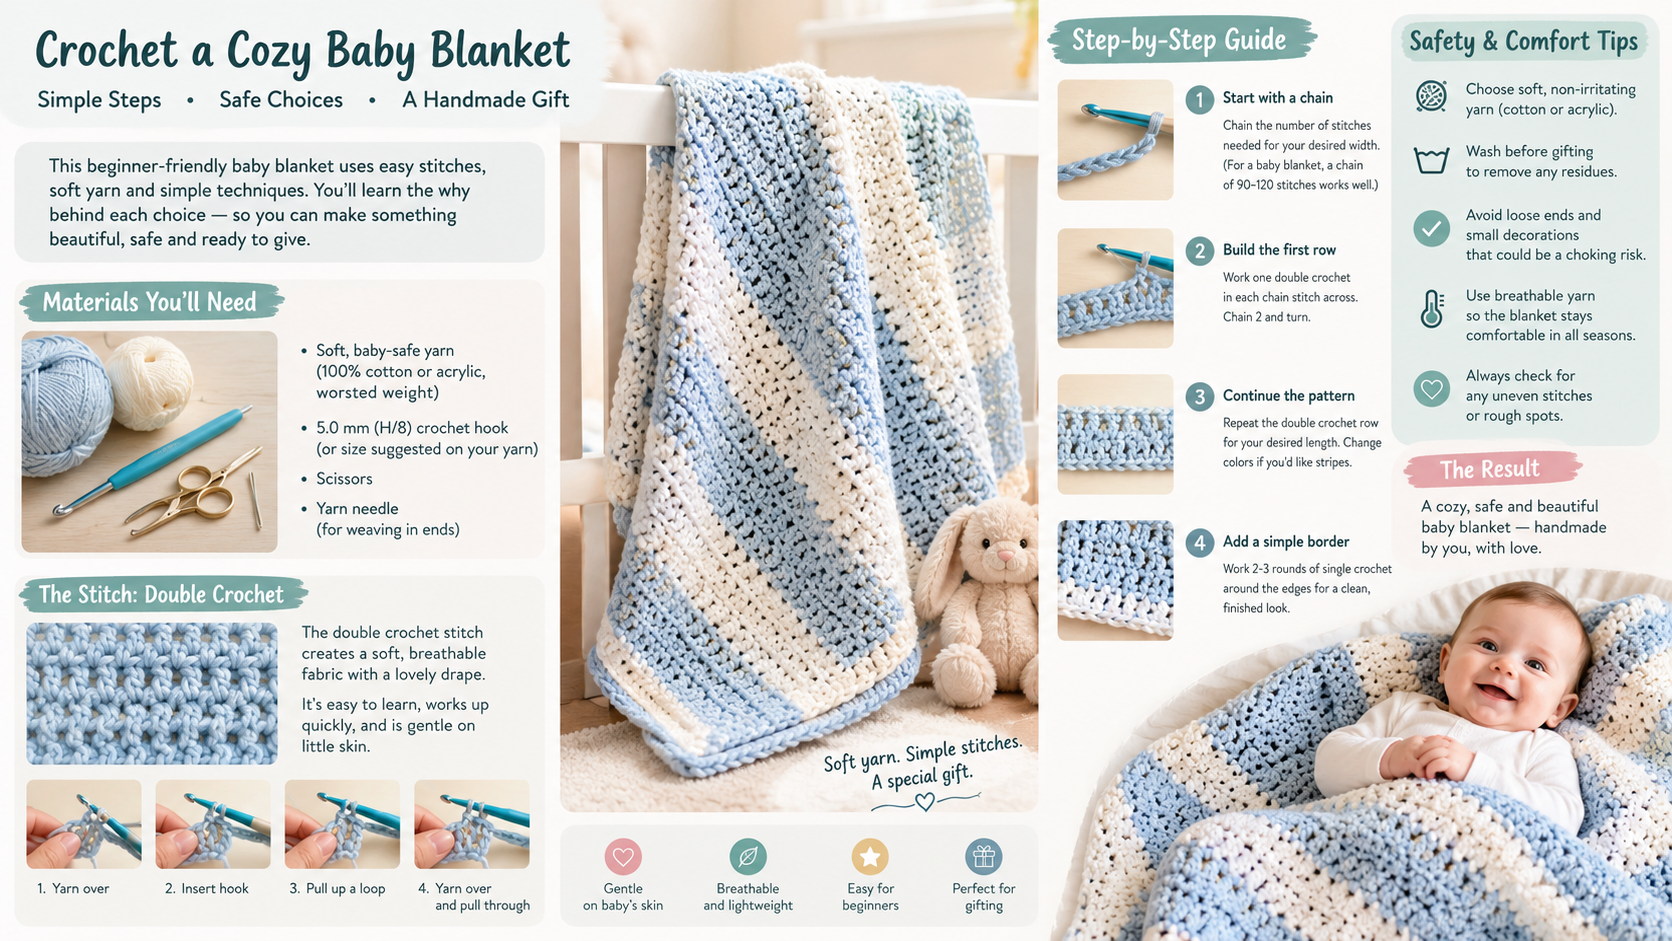
A 36 by 36 inch blanket worked at 14 stitches and 16 rows per 4 inches has approximately 126 stitches across and 144 rows. That is about 18,144 stitches before adding a border. The visual result can be striking, but the scale is worth knowing before choosing a detailed portrait.
Think about intended use as well as appearance. A stroller blanket is easier to carry; a larger blanket gives an image more room. For safe use, describe it as an awake time or supervised blanket and direct caregivers to current safe sleep guidance. The crochet baby blanket safety guide explains practical inspection and use considerations.
Choose the Blanket Size Before You Make the Chart
The blanket dimensions set the chart dimensions. First swatch with the same yarn, hook, stitch, and color carrying method you intend to use. Tapestry work can be denser or wider than plain single crochet because inactive yarn occupies space inside the stitches. A one color swatch may therefore give misleading measurements.
At a gauge of 14 stitches and 16 rows per 4 inches, the fabric has 3.5 stitches and 4 rows per inch. Multiply the intended width by 3.5 for stitches across, and multiply the length by 4 for rows. A 30 by 36 inch blanket is about 105 stitches wide by 144 rows. A 36 by 36 inch blanket is about 126 by 144.
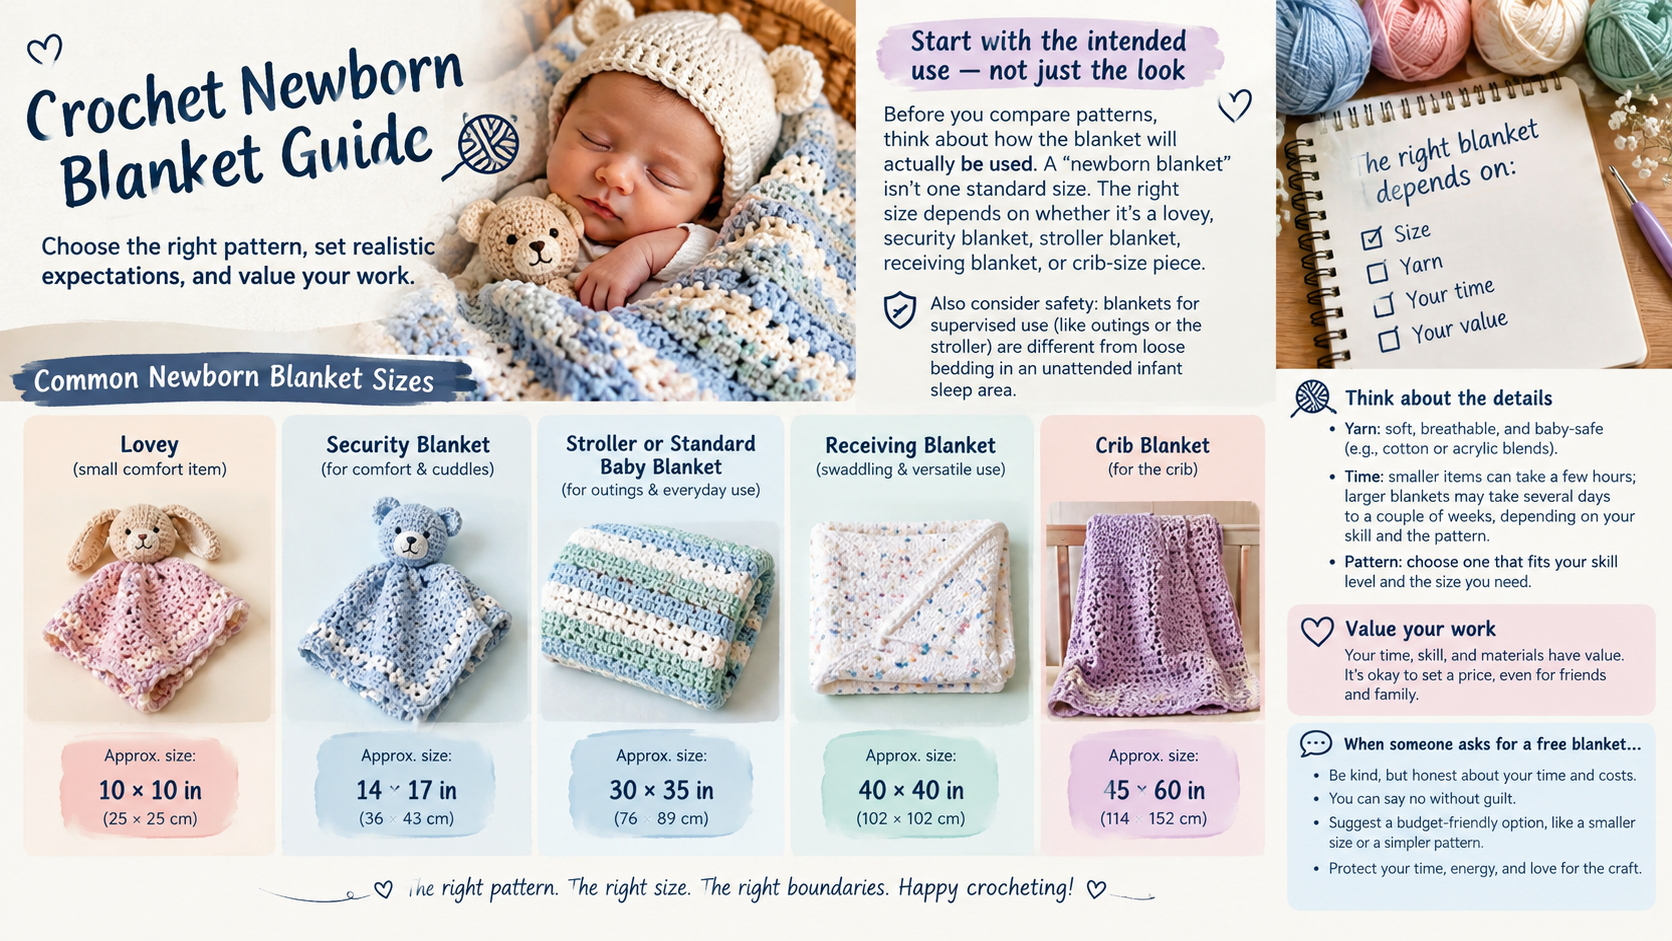
Common options include a 24 by 30 to 30 by 36 inch stroller blanket, a 30 by 30 to 36 by 36 inch receiving blanket, a 36 by 36 to 40 by 40 inch everyday blanket, and an approximately 28 by 52 inch crib blanket. These are planning ranges, not universal standards. Confirm the intended use and dimensions with the recipient.
One chart square usually means one single crochet. At 3.5 stitches per inch, a chart 100 squares wide makes fabric about 28.6 inches wide. Single crochet stitches are often wider than they are tall, so square chart pixels may distort a picture. Use the proportions of your swatch to adjust the image before committing.
How to Make a Tapestry Crochet Chart from a Picture in Procreate
Start by deciding whether the image fills the blanket or sits inside a plain border. A 36 inch blanket may have an image area closer to 100 to 115 stitches wide once you reserve room for the border. Build the chart from that usable area rather than from the full blanket dimensions.
- Calculate chart counts. Use the swatch gauge and desired image dimensions to calculate the number of columns and rows. Do not select chart dimensions just because they match the original photo pixels.
- Crop to the planned aspect ratio. Crop the photo to fit its chart area. A square image area needs a square crop; a 30 by 36 inch image area is approximately a 5 to 6 ratio.
- Create a hard edged canvas. In Procreate, use the chart dimensions directly or create a larger canvas where each chart square is a consistent block, such as ten pixels by ten pixels. Avoid soft edges and antialiasing, which introduce colors that do not exist in your yarn palette.
- Reduce and redraw. Pixelate or posterize the photo, then manually clean the blocks. Remove extra background shapes and make each square clearly one color.
- Add a grid and legend. Keep the grid on a separate layer. Give each color a letter or symbol as well as a written color name, so close shades remain distinguishable in print.
- State the row direction. For flat turned rows, the chart may be read right to left on right side rows and left to right on wrong side rows. Add arrows and confirm your chosen method. In the chart, one square equals one stitch.
- Test at the final scale. Zoom out to approximately the finished image size. If you cannot identify the subject, simplify or enlarge its defining features.
For a useful reference on the drawing app, consult the Procreate Handbook. Its canvas and layer tools can support this process, but the crochet gauge calculations still need to come from your own swatch.
Simplify the Picture So It Reads Clearly in Stitches
A photo contains gradients, hair texture, shadows, and small details that do not translate cleanly into a limited grid. Preserve the silhouette and a few defining features instead. Remove background clutter, subtle shading, reflections, and tiny text. High contrast shapes are easier to recognize than a literal but muddy photo conversion.
For a simple silhouette, use two colors. A reduced image often works with three to five colors; a more detailed design may use six to eight. More shades do not guarantee a better result. They create extra yarn sources, transitions, tension changes, and tails.
Details one stitch wide or one row high can disappear into the surrounding fabric. Lines two or three stitches wide are more likely to read clearly. Exaggerate a small eye, outline, or lettering only if it improves recognition. Try a quick recognition check: if the subject is unclear when you zoom out, simplify again. A tiny crocheted sample can reveal more than repeated editing on a screen.
Materials, Gauge, and Project Specifications
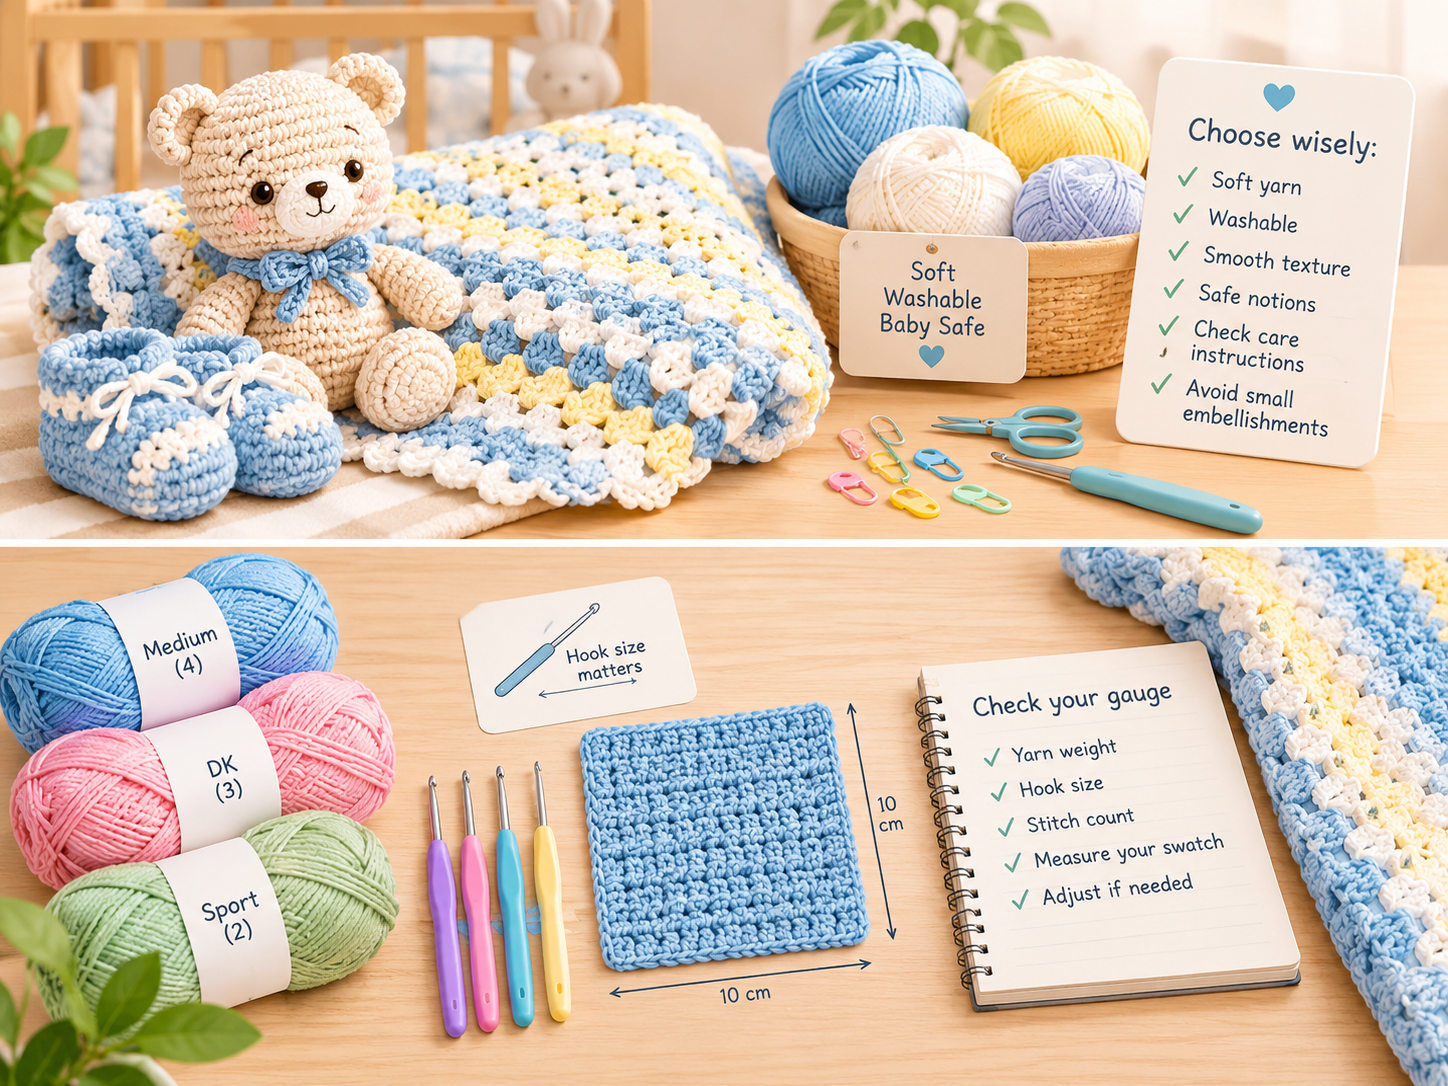
A reproducible starting point is a worsted weight, machine washable acrylic or acrylic blend, a 5.0 to 6.0 mm hook, and a target gauge near 14 stitches and 16 rows per 4 inches. Adjust the hook to match your swatch, not just the yarn label. Dense tapestry crochet can use more yarn and feel firmer than ordinary single crochet.
- Worsted weight yarn in the colors shown in your chart
- Hook selected by the colorwork swatch
- Stitch markers, row counter, and printed or digital chart
- Separate bobbins or small yarn holders for isolated color areas
- Tapestry needle and scissors for finishing
A full 36 by 36 inch chart at the target gauge is approximately 126 by 144 squares. Conventional worsted baby blankets are often estimated at 700 to 900 yards, but carried yarn, dense fabric, a border, and color allocation can increase the requirement. Buy a reserve in the main color where possible. The yarn buying guide can help compare fiber, care, yardage, and cost before purchasing.
Check the finished swatch for width, height, drape, and whether carried yarn shows through. Machine washable yarn is usually practical for a frequently used gift, but check the yarn label and care instructions. See the Craft Yarn Council standards for general yarn weight and label terminology.
Crochet the Chart: Color Changes, Carried Yarn, and Tension
Mark each completed row and keep a ruler or removable guide under the row being worked. Before starting, verify the first and last stitch count. A dropped or added stitch can shift the whole image and change the finished width.
To make a clean color change, begin the final pull through of the previous stitch with the new color. The next stitch then starts in the new shade. For short gaps, carry the inactive yarn inside the stitches or along the wrong side and crochet over it. Spread the stitches gently as you work so the carried strand does not pull the fabric tight.
For a long stretch where a color is not used, a separate bobbin or small yarn source can prevent bulky fabric, visible show through, and distortion. If you carry a long float, catch it periodically; one technique reference suggests catching long carried floats approximately every third stitch. Do not trap a strand so tightly that the blanket puckers, and avoid loose loops that can snag.
Flat turned work may alternate reading directions between rows. Follow the direction printed on your chart rather than assuming every row is worked the same way. For more guidance on choosing fibers and managing tension, link readers to the crochet gauge and pattern fit guide; gauge changes affect finished measurements across different crochet projects.
Manage the Many Yarn Ends Before They Become a Finishing Problem
Repeated cutting and rejoining is one of the fastest ways to create a finishing backlog. Do not invent a fixed tail count: it depends on the chart and on whether colors are carried or cut. You can estimate the color change events by summing the transitions between colors across all rows. That estimate helps compare a simple block design with a highly fragmented picture.
Carry a shade through a short gap when doing so will not show on the front or make the fabric too thick. Use a bobbin for a color that returns in a nearby block. Cut and rejoin only when carrying that yarn across the back would create an overly long float, bulk, show through, or pull. Plan color regions before starting each row.
Secure ends in batches as sections are completed rather than leaving all of them to the last day. On the wrong side, weave each tail through several stitches, change direction, and trim only when it is secure. Avoid weaving right at the surface where it may show on the front. This is slow work, so include it in your project estimate.
How Much Time and Yarn Cost to Plan For
An 18,000 to 20,000 stitch blanket is a substantial project. Planning estimates for that range are 20 to 35 active hours for an experienced crocheter working a simple two color image, 30 to 55 hours for an intermediate crocheter using three to five colors, and 50 to 80 or more hours for a beginner. A highly detailed multicolor design may take 60 to 100 or more hours including finishing. These are estimates, not guarantees.
Size, stitch speed, color changes per row, chart complexity, yarn tangles, and weaving ends all affect the total. If the maker has an actual project time and material spend, show those figures. Otherwise, label any budget example as illustrative. At an assumed five to eight dollars per skein, six skeins would cost about 30 to 48 dollars and eight about 40 to 64 dollars. These are scenario calculations, not verified current prices.
Estimate the yardage by color rather than buying the same quantity of every shade. A large background may use most of the yarn, while accent colors may need only partial skeins. The crochet baby gift guide has additional considerations for choosing a practical handmade present.
Is an Image Based Tapestry Blanket the Right Project for You?
Before starting, check the chart dimensions, number of colors, transitions per row, and your comfort with gauge control. Be honest about whether you are willing to manage many yarn sources and finish many ends. A 40 by 40 inch blanket has approximately 23 percent more surface area than a 36 by 36 inch blanket, so a modest size increase adds meaningful work.
Make a small test panel with the same yarn, hook, palette, and color change method. Check whether the subject remains recognizable, whether carried strands are manageable, and whether the fabric lies flat. This is also a practical way to estimate your pace before committing to a project that may take dozens of hours.
Conclusion
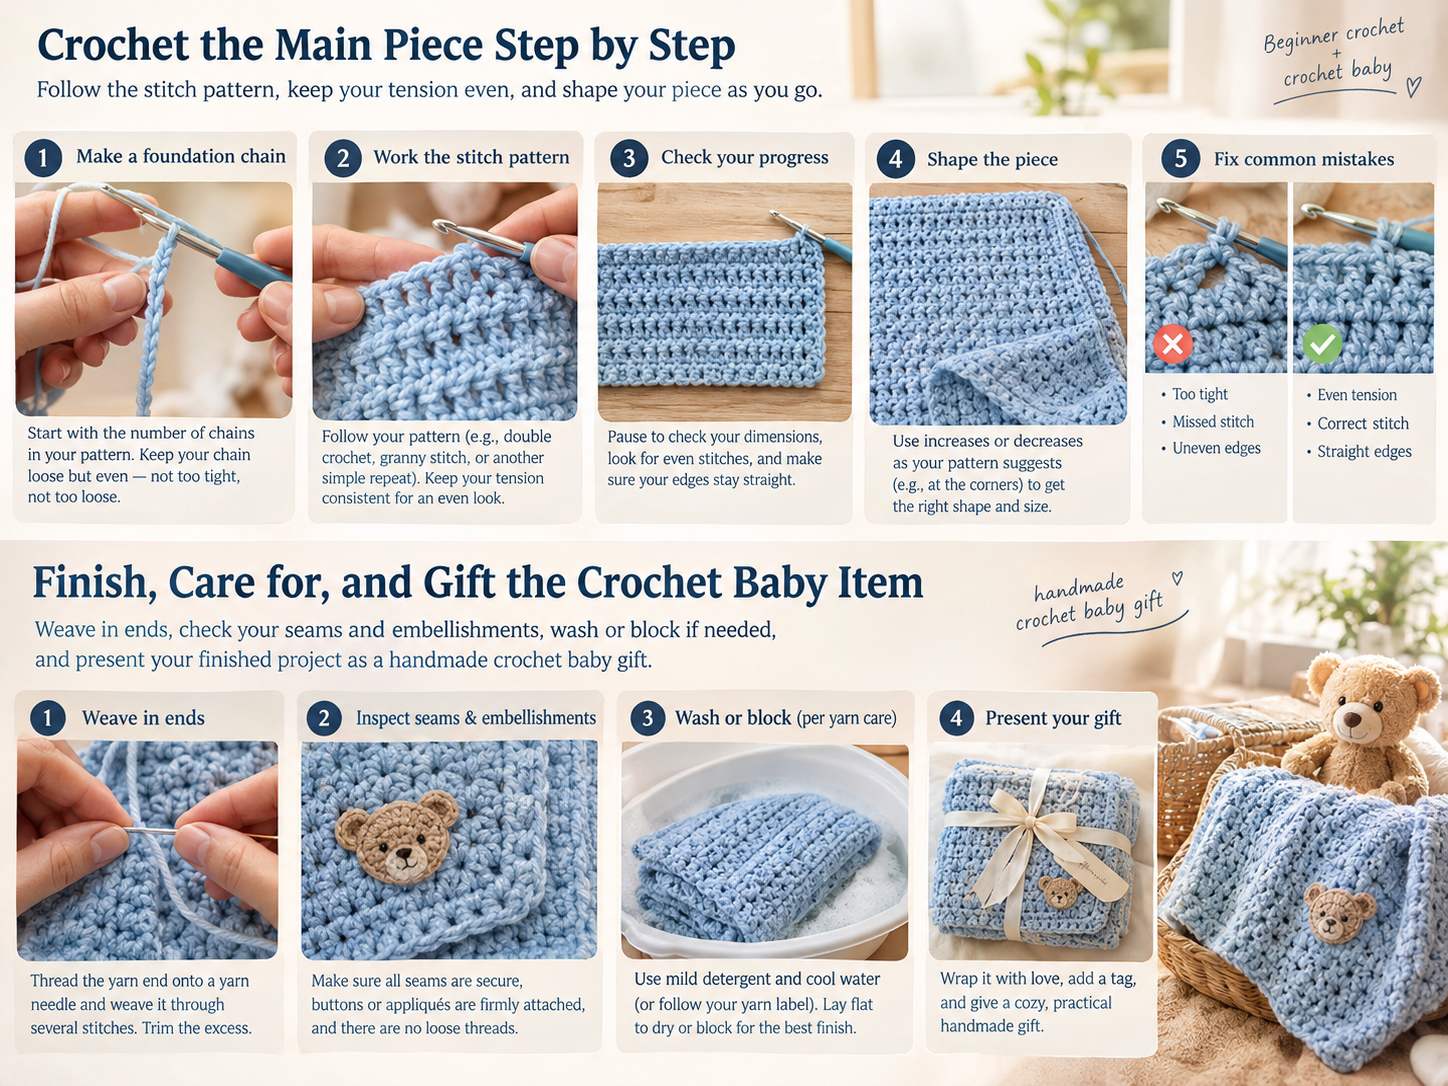
A successful photo based blanket starts with realistic dimensions, a gauge based chart, and an image simplified for stitch scale. A limited palette and deliberate yarn plan can preserve the image while reducing bulk and finishing stress. The work is considerable, but the design does not need to be complex to feel personal.
If you are ready to make a Crochet baby blanket from a picture, swatch first, build a small chart, and test one recognizable section. Choose your image and make that test panel before buying the full yarn supply.
Frequently Asked Questions
How wide should a crochet baby blanket be?
It depends on the intended use. Common plans range from about 24 by 30 inches for a stroller blanket to 36 by 36 inches for a general purpose blanket. Confirm the intended dimensions with the recipient and calculate the chart from your own gauge.
How do I convert a photo into a crochet chart?
Choose the image area and gauge, crop the photo to the right ratio, simplify it into high contrast blocks, and place it on a grid where each square equals one stitch. Add a color legend and row direction, then check the image at actual stitch scale.
How many colors should an image crochet chart use?
Two colors work well for a silhouette, three to five for a simplified image, and six to eight for a more detailed chart. More colors add complexity and do not automatically improve recognition.
How much yarn does a 36 by 36 inch baby blanket need?
A conventional worsted weight blanket may use approximately 700 to 900 yards. Dense tapestry fabric, carried colors, borders, and color distribution can increase the amount, so swatch and calculate a reserve before purchasing.
Is tapestry crochet suitable for a beginner?
The single crochet stitch itself is accessible, but a large image blanket also requires chart tracking, consistent tension, color changes, yarn management, and substantial finishing. Make a small test panel first to judge whether the method suits your experience and available time.
{"@context":"https://schema.org","@type":"FAQPage","mainEntity":[{"@type":"Question","name":"How wide should a crochet baby blanket be?","acceptedAnswer":{"@type":"Answer","text":"It depends on the intended use. Common plans range from about 24 by 30 inches for a stroller blanket to 36 by 36 inches for a general purpose blanket. Confirm the intended dimensions with the recipient and calculate the chart from your own gauge."}},{"@type":"Question","name":"How do I convert a photo into a crochet chart?","acceptedAnswer":{"@type":"Answer","text":"Choose the image area and gauge, crop the photo to the right ratio, simplify it into high contrast blocks, and place it on a grid where each square equals one stitch. Add a color legend and row direction, then check the image at actual stitch scale."}},{"@type":"Question","name":"How many colors should an image crochet chart use?","acceptedAnswer":{"@type":"Answer","text":"Two colors work well for a silhouette, three to five for a simplified image, and six to eight for a more detailed chart. More colors add complexity and do not automatically improve recognition."}},{"@type":"Question","name":"How much yarn does a 36 by 36 inch baby blanket need?","acceptedAnswer":{"@type":"Answer","text":"A conventional worsted weight blanket may use approximately 700 to 900 yards. Dense tapestry fabric, carried colors, borders, and color distribution can increase the amount, so swatch and calculate a reserve before purchasing."}},{"@type":"Question","name":"Is tapestry crochet suitable for a beginner?","acceptedAnswer":{"@type":"Answer","text":"The single crochet stitch itself is accessible, but a large image blanket also requires chart tracking, consistent tension, color changes, yarn management, and substantial finishing. Make a small test panel first to judge whether the method suits your experience and available time."}}]}
Leave a Reply